Step 1
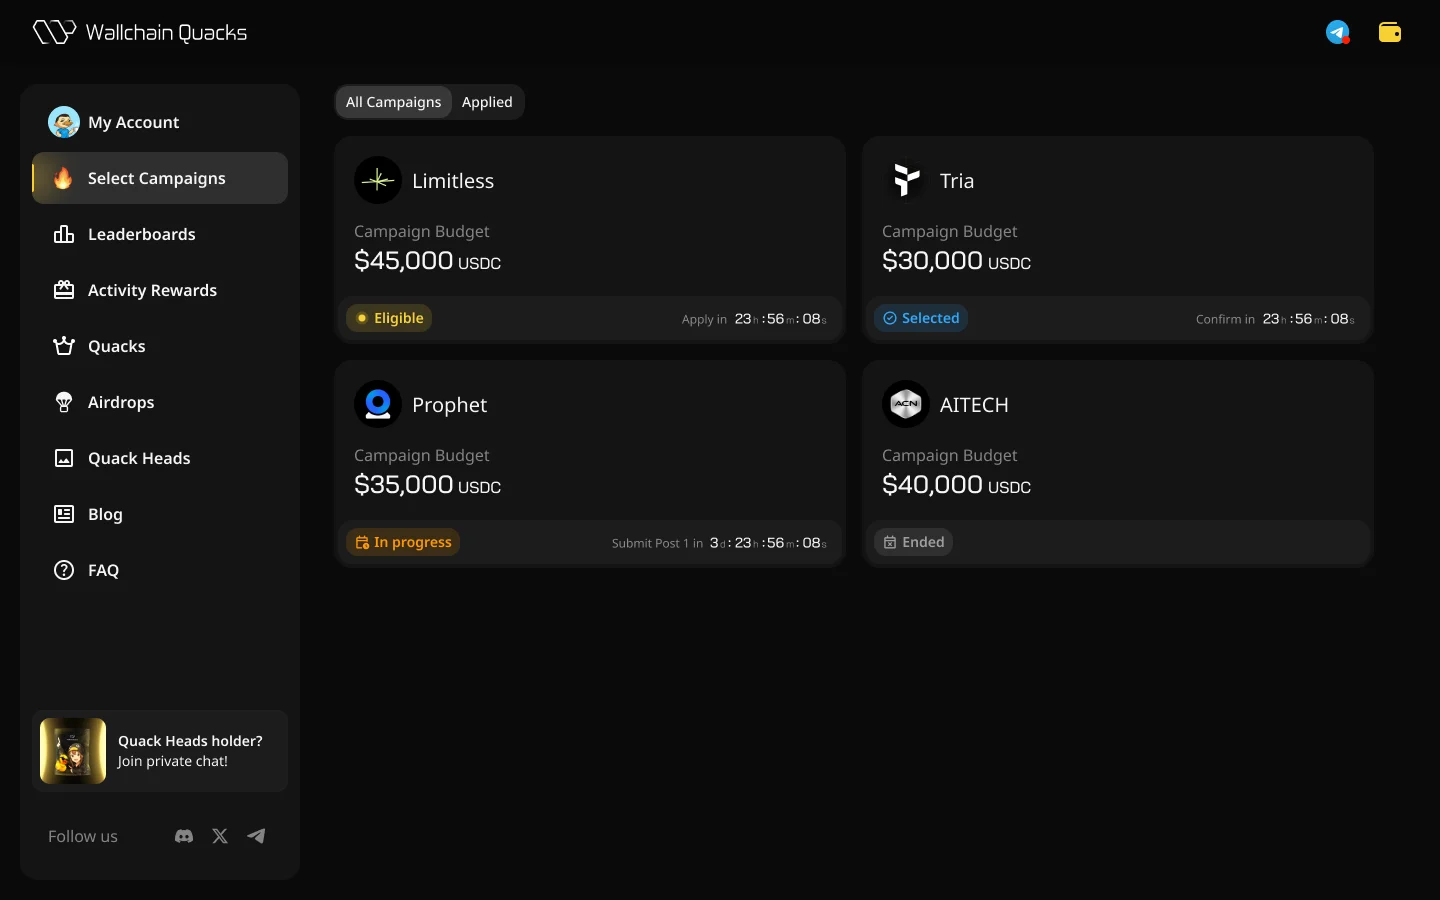
To participate in Select Campaigns, head to app.wallchain.xyz and sign in via X. In the left sidebar, click Select Campaigns.Step 2
The Select page lists all currently live campaigns. Two tabs at the top:- All Campaigns – everything currently running
- Applied – only the campaigns you’ve applied to
Step 3
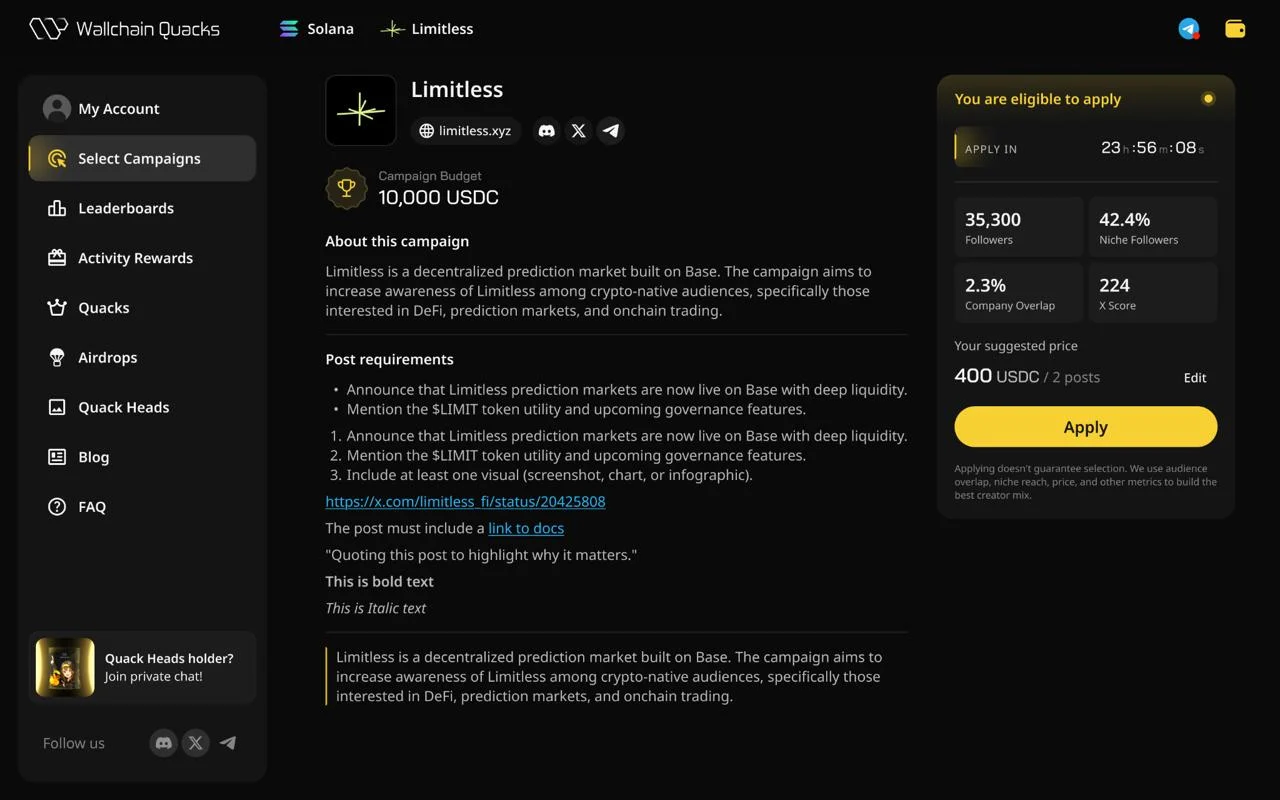
Clicking a campaign card opens the campaign’s detail page: Campaign requirements (left side)- Project name, domain, and social links
- Reward pool – total budget across all selected creators
- About this campaign – what the project does and why they’re running this
- General posting requirements – exact rules: what to mention, hashtags, links, format, screenshots required, and so on
- A link to the brief post or external documentation (if specified)
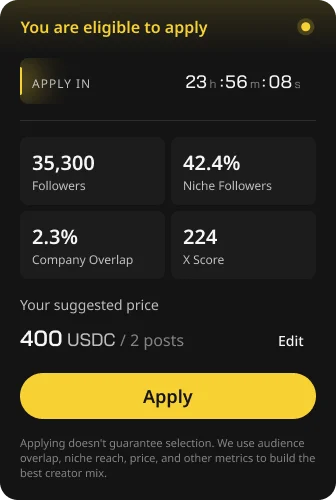
- Apply in – countdown to the application deadline
- Followers – your follower count
- Niche Followers (%) – share of your followers who are also in this project’s niche. Read this report to learn more.
- Company Overlap (%) – share of your followers who already follow the project.
- X Score – Wallchain’s audience-quality metric.
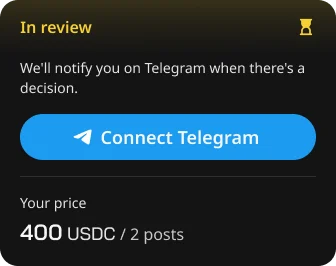
- Your suggested price – recommendation for this specific campaign, with the number of posts.
Step 4
When applying to a campaign, you have two options:- Accept the suggested price. Click Apply. Done.
- Set your own price. Click Edit, type a new number, Save, then Apply.
Step 5
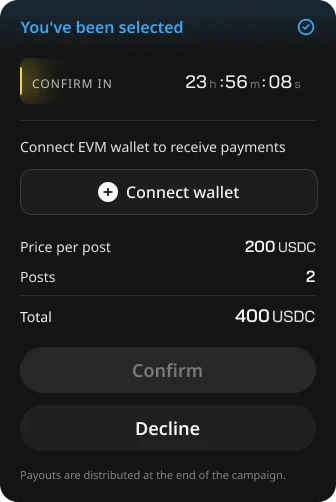
If you’re selected, the status changes to “You’ve been selected” and a confirmation timer appears. To accept the campaign:- Click Connect wallet and connect an EVM wallet. This is where payment will be sent. You can later change your wallet in Settings, but always make sure you connect a wallet you actually control and intend to use long-term.
- Review the summary: price per post, number of posts, total.
- Click Confirm.
- Click Decline.
Step 6
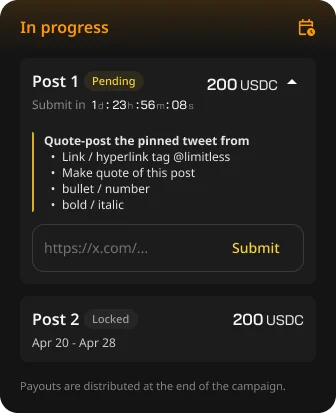
After confirmation, the campaign page shows all the posts in the campaign as a sequence: Post 1, Post 2, and so on. For a live post, you see:- Status – Pending, In review, Approved, Rejected, Declined, Time Over, or Locked
- Price in USDC
- Publish window – date range or specific timestamp
- An expandable brief with the exact requirements for that post
- Publish the post on X (or whichever platform the campaign uses)
- Make sure the post includes everything the brief asks for – mentions, links, hashtags, screenshots, the native Paid Partnership label, etc.
- Copy the post link
- Paste it into the “https://x.com/…” field on the platform
- Click Submit
Step 7
Submitted posts go through review. Four possible outcomes:- Approved. The post meets the brief. Payment for this post is guaranteed.
- Rejected. Something specific is wrong but fixable – for example, “Please mention @brand”. You’ll see the exact reason, a link to the View post, and a Re-Submit field. Edit the original post (or publish a new one), paste the new link, and Re-Submit.
- Declined. The post doesn’t meet the requirements and won’t be paid. No re-submission. Why can it happen? The submission date is missed, and your rejected post wasn’t resubmitted at the time. Or due to individual reasons.
- Time Over. The publishing window closed before you submitted.
Step 8
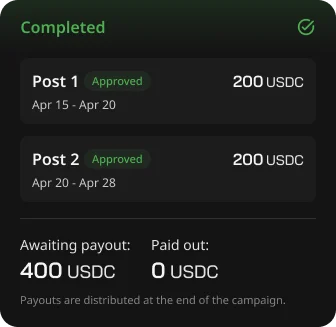
Once all posts have been processed or the campaign window closes, the campaign status becomes Completed. The summary shows two amounts:- Awaiting payout – total approved but not yet paid
- Paid out – total already sent to your wallet